

When I was growing up, Christmas eve dinners were always a big deal. We sat at the table for hours, eating fish course after fish course. Later on in the evening, some of the neighbors would stop by, enjoying my mother's cooking and joining the boisterous conversation. Most of the fish were fried - including smelts, eels, baccala and other staples of the Italian-American "Feast of the Seven Fishes." Once my brother Frank brought home conch when he was stationed in Boston as a tour guide on the U.S. Constitution (both he and my brother Joe were in the Navy). I don't have any recollections of liking it, although I've since grown to enjoy conch when we're in the Caribbean, in either conch fritters or ceviche. There was always spaghetti too on Christmas eve. To me, the pasta was the highlight of the meal, and I don't know which I loved more - the spaghetti with crabs we'd have some years, or the spaghetti with squid other years. Either way, they were always served in a red sauce, and you needed plenty of napkins to keep your hands cleaned while eating the messy crabs.
After decades of taking over the reigns for the Christmas eve fish feast, I still make sure to have at least seven fishes, but have pared down quite a bit, and no longer make the fried fish as I once did. We gather around the coffee table first, eating octopus salad, shrimp cocktail and several other offerings, all washed down with ample prosecco being poured.

I get a lot of help from other family members like my son, who makes baccala mantecato, that I used to serve with grilled polenta. But since gaining a Jewish daughter-in-law, who makes latkes in keeping with her Hanukkah tradition, we now spread the baccala over a latke -- a perfect combo and one we jokingly call "baccalatkes."

After an hour or so, we move to the dining room, but instead of presenting numerous main courses as I did for years, now I narrow it to one, in addition to a salad. Most years, it's been pasta with shellfish, (spaghetti ai frutti di mare) but even that requires multiple pots to be going at once -- two pots just to boil the pasta, plus a pot to saute the shrimp and scallops and separate pots to steam the mussels and clams.

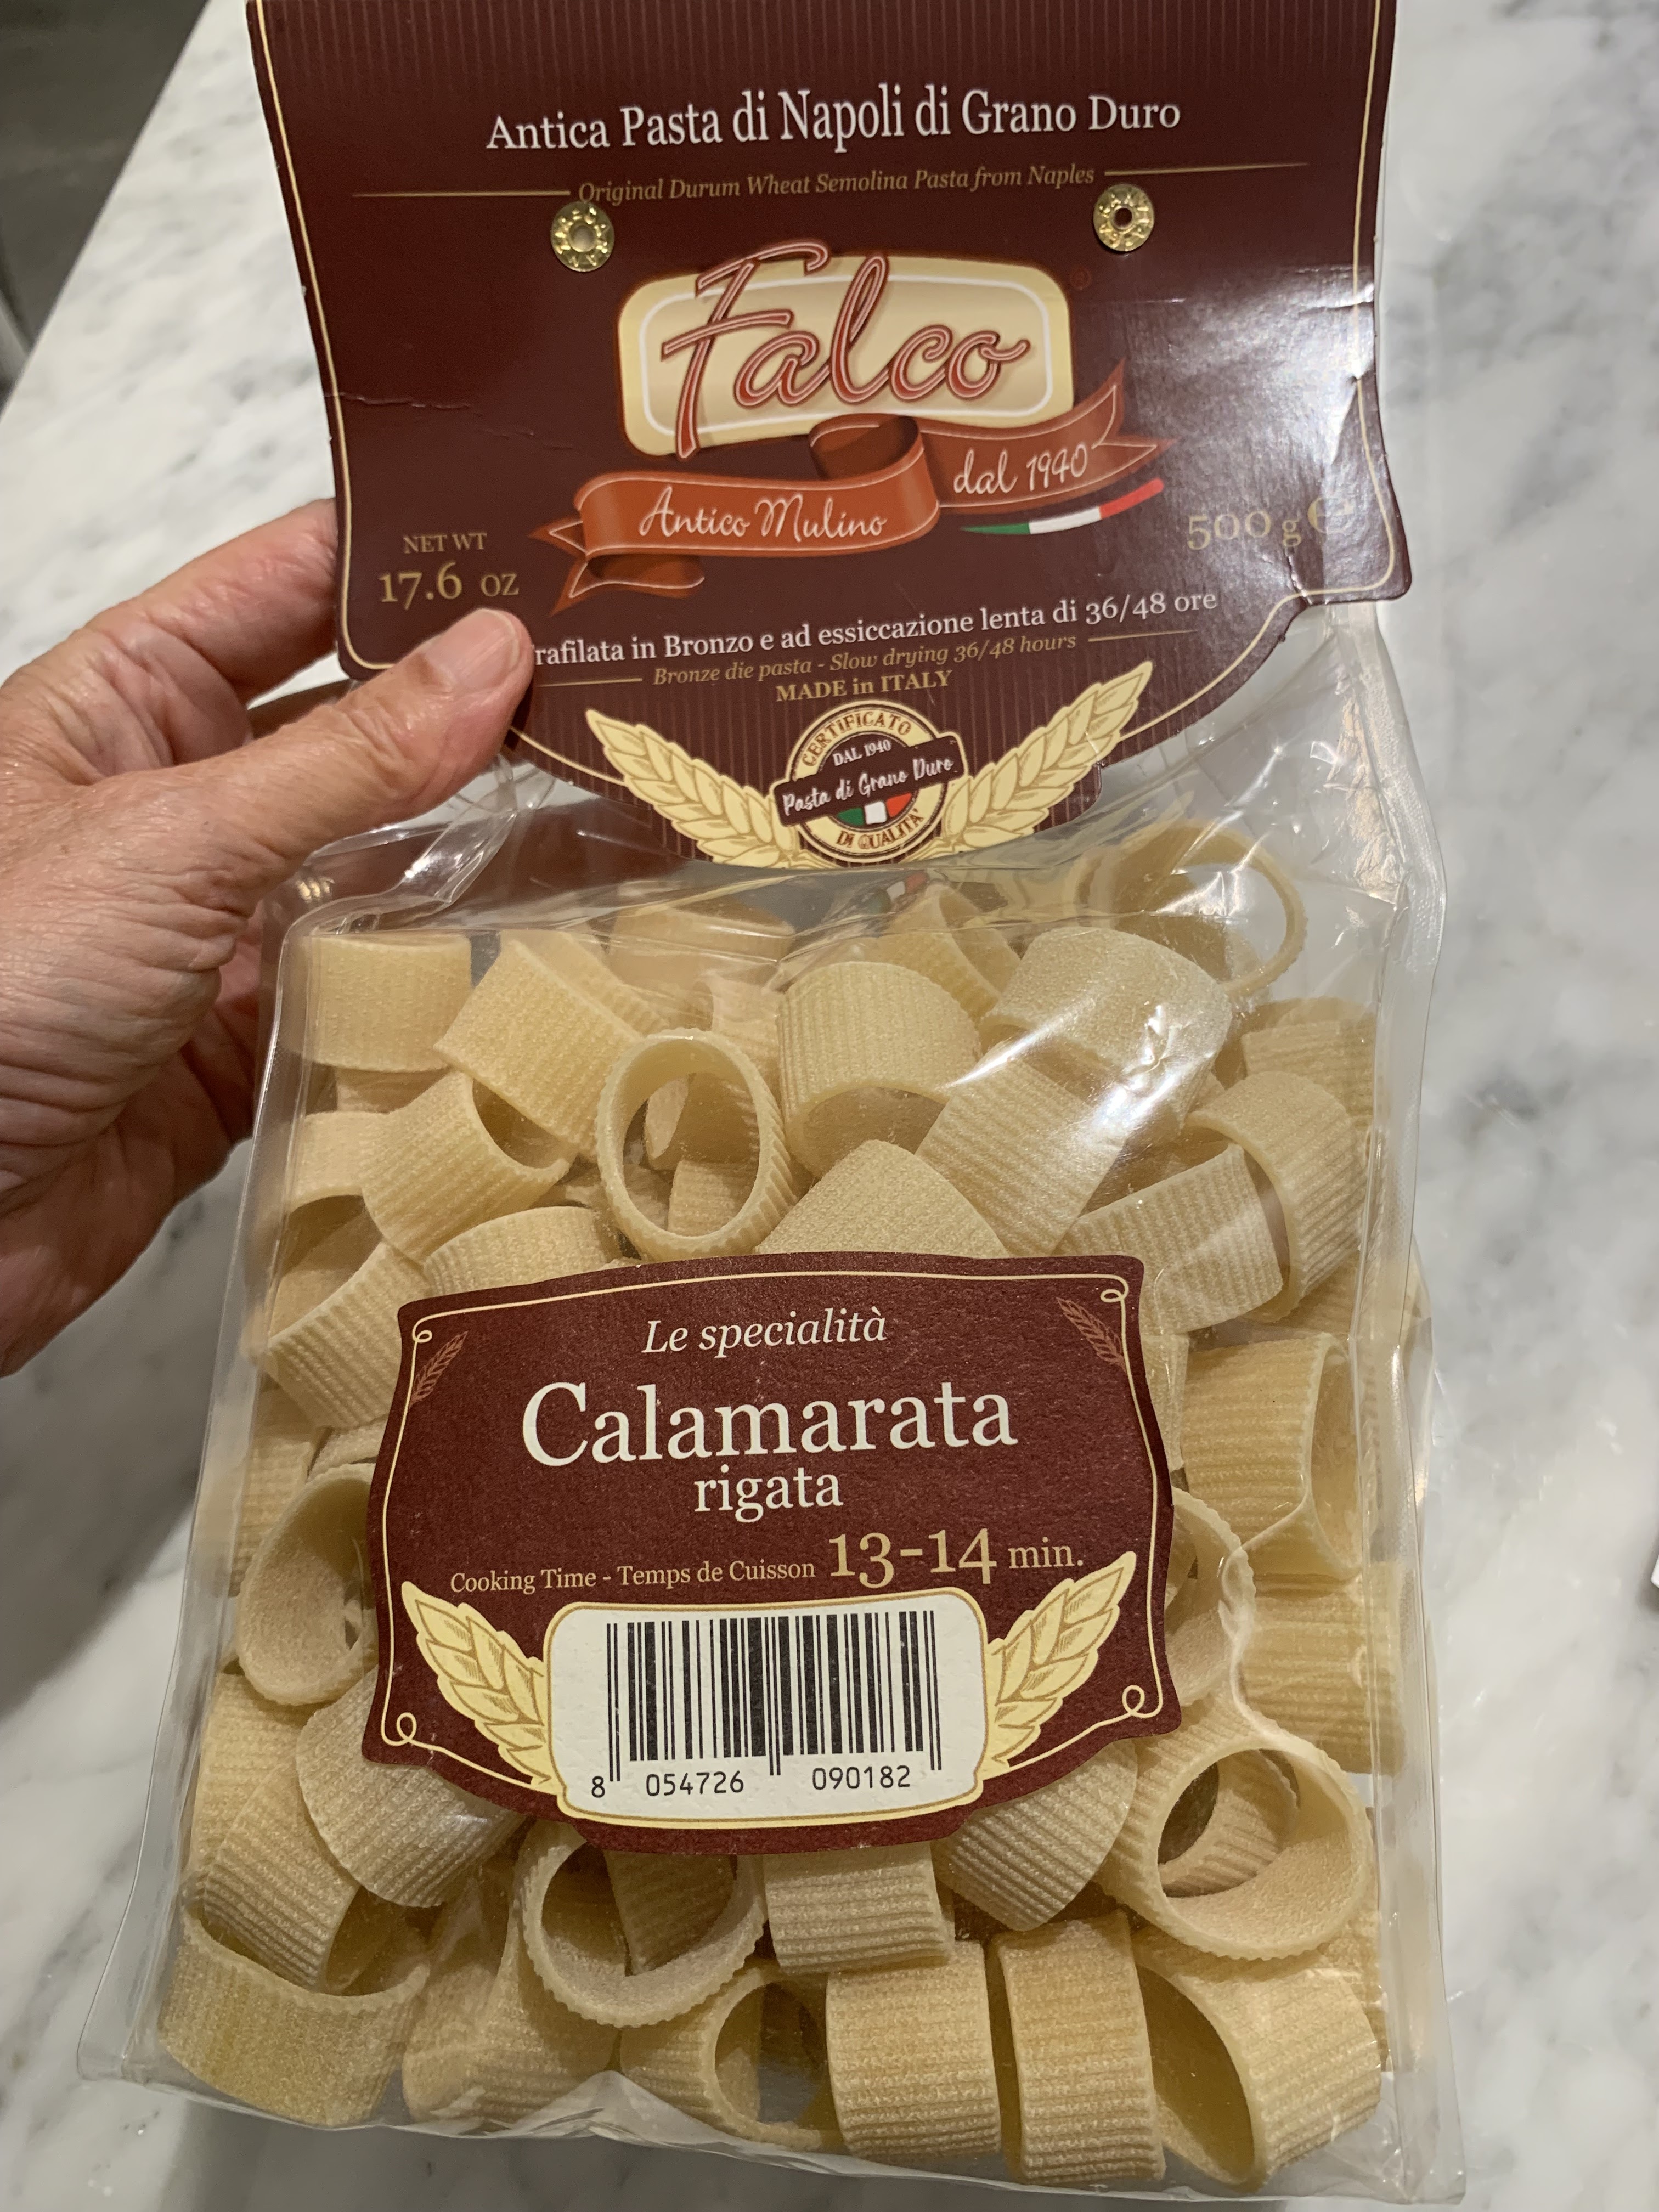
So this year, I'm planning to serve pasta with squid in tomato sauce, requiring only three pots (two to boil the pasta and one to cook the squid) It's a dish reminiscent of what my mother made, but not with spaghetti. I'll be serving it with calamarata pasta, named after the calamari it so closely resembles. You can buy it at Italian grocery stores or online, but I also found it at Home Goods, a store that sells everything from carpets to candy. The food section at Home Goods always has a great selection of pasta -- and the brand I found there -- made by Falco -- was really good quality - extruded with bronze dies, and with a slow drying process, it held its shape well after cooking. It was also designed with ridges and that helps the sauce cling.
The squid is normally pretty clean when I bring it home from the store, so I just rinse it and cut it into rings. Be sure to get some of the tentacles too. If your squid needs to be cleaned first, click here for a useful YouTube video to guide you through the process. This amount below was only slightly more than 1/2 lb., enough for two people, but I would figure on 3/4 lb. of cleaned squid for two.


I think this is the perfect dish for Christmas eve, and one that's sure to please everyone around our table this year -- from my two-year old granddaughter to my 102 year-old father. I hope you make it too, whether for Christmas eve or another time.
Wishing you all a Buon Natale e felice anno nuovo.
If you'd prefer this dish with a garlic and olive oil sauce, click here for that recipe. For more Christmas eve fish ideas, click here.

Check out Ciao Chow Linda on Instagram here to find out what’s cooking in my kitchen each day (and more).
Calamarata pasta with calamari in tomato sauce
(serves four people)
1/2 cup olive oil
2 small shallots
4 large cloves of garlic
red pepper flakes, to taste
1 1/2 lbs. squid, cleaned and cut into rings
2 - 2 1/2 cups passata (or tomato puree)
3/4 cup dry wine (red or white)
1/2 teaspoon salt, pinch of black pepper
fresh basil
1 lb. calamarata pasta
Saute the shallots and garlic in the olive oil until limp. Add the red pepper flakes and the squid and cook the squid a few minutes until they are opaque. Add the wine, the passata and seasonings. Cook for 1/2 hour to 45 minutes.
Boil the pasta until al dente, then add to the sauce and stir everything together until the pasta is well coated. Sprinkle more basil on top and serve.


