Monday, February 25, 2019

Lidia Bastianich - Beef in Sguazet (Beef Stew)

Spring may be just around the corner, but we’ve still got a few days left in February, and if March is anything like last year, when we were socked with three major snowstorms, then there’s still plenty of time to make warm, stick-to-the-ribs comfort food, like this recipe from Lidia Bastianich.

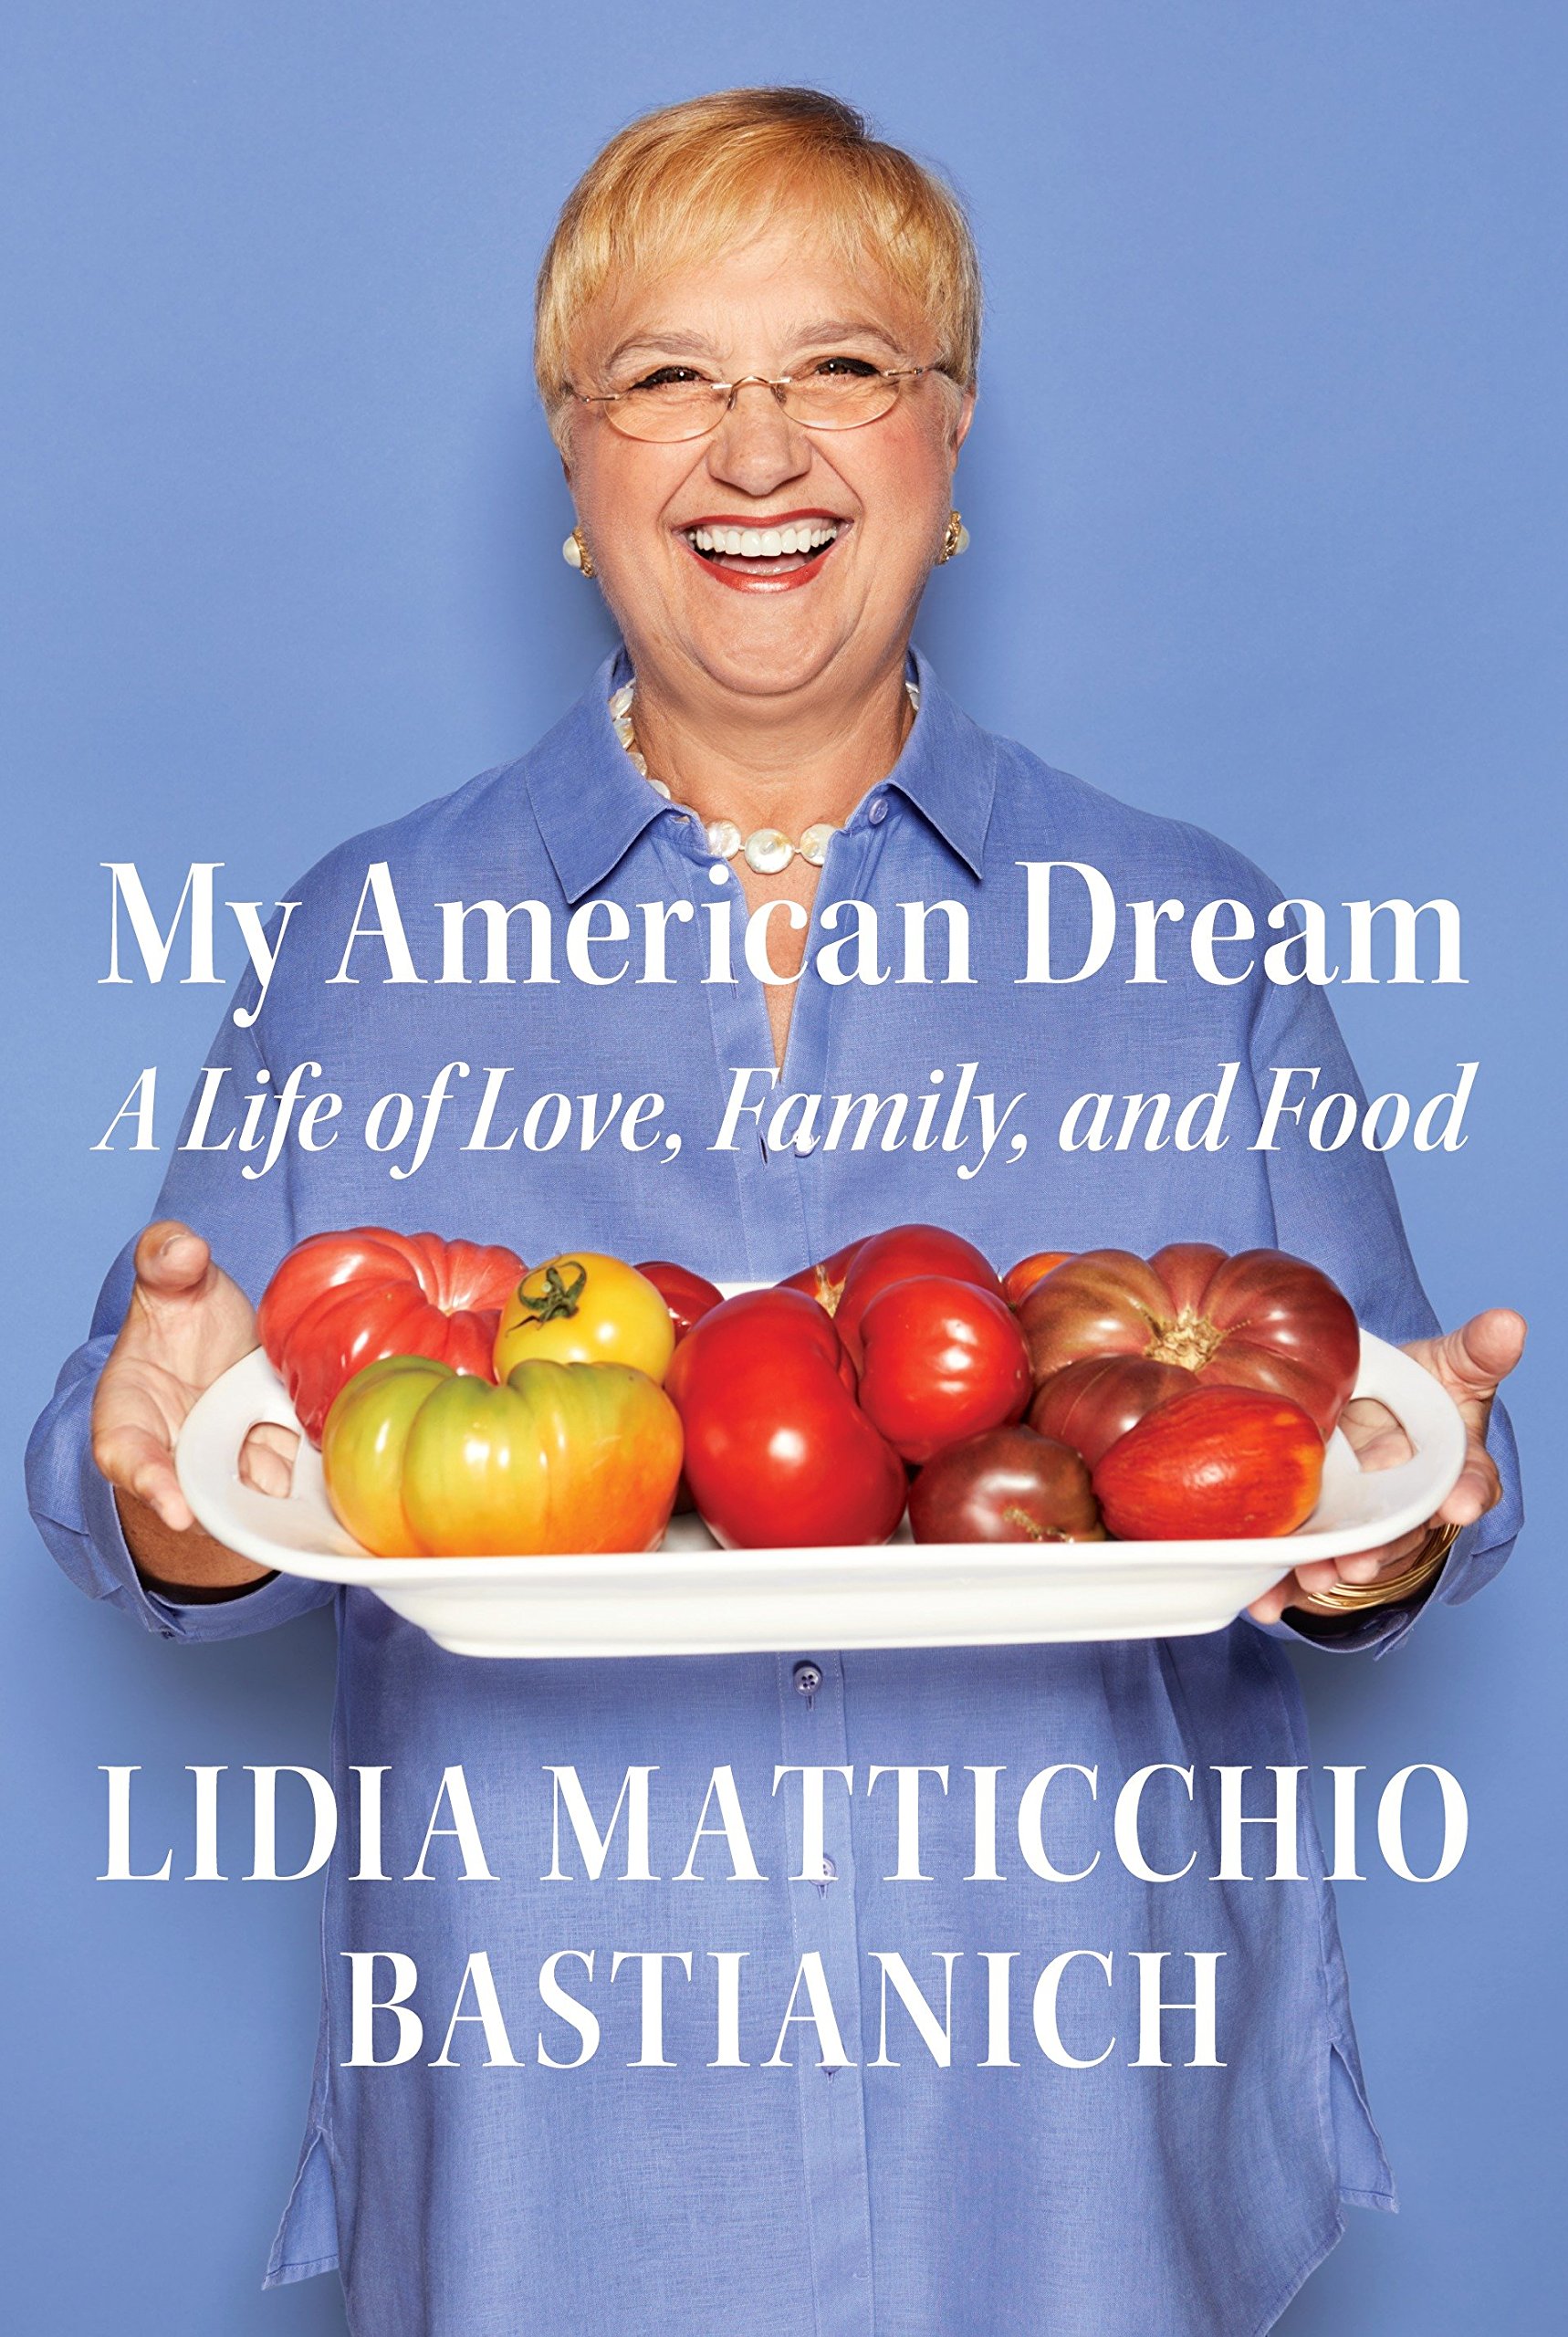
Who doesn’t know Lidia, who has written numerous cookbooks and children’s books; whose show on public television has captivated us for years; whose restaurants in New York, Kansas City and Pittsburgh are magnets for lovers of good Italian food; whose food emporium in New York – EATALY – is chock full of any kind of Italian product you could wish for; and Lidia – whose journey as an immigrant to the United States is explained in her heartfelt memoir, “My American Dream”?

Image result for lidia bastianich my american dream

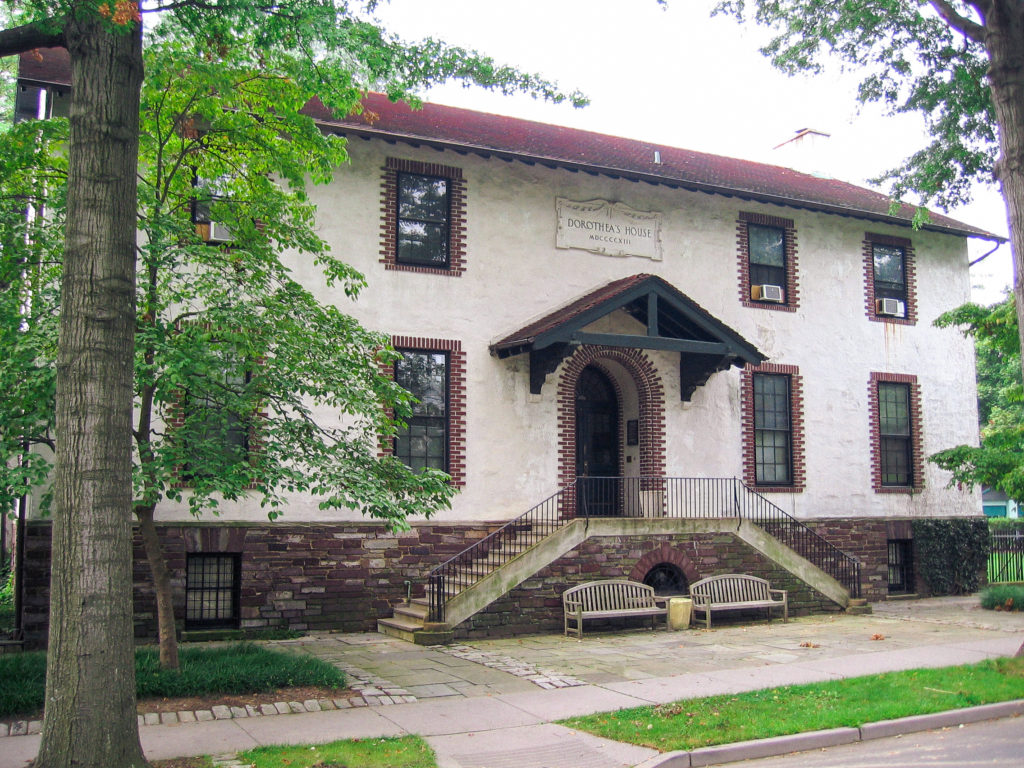
Fans of Lidia in the Princeton, N.J. area were treated to an afternoon with her yesterday, when she agreed to speak at the Italian cultural organization where I’m a board member – Dorothea’s House.

The house was founded more than 100 years ago by the father and husband of Dorothea Van Dyke McLane, a well-to-do Princetonian who ministered to the needs of recent Italian immigrants at the turn of the 20th century. Sadly, Dorothea died during childbirth at age 24, along with her baby daughter. Today Dorothea’s House is a vibrant Italian cultural center, offering Italian language classes for adults and children, monthly programs on Italian topics, an Italian movie series, and scholarships for high school students.

Dorothea's House Exterior

During the afternoon, Lidia spoke to a packed crowd about her early life in Pula, a town in the Istria peninsula that was once part of Italy but was annexed to Yugoslavia after World War II, and now is part of Croatia. The audience listened with rapt attention as she spoke of details about her journey to a new country and consequent life in the U.S., including her rise to success in the restaurant business.

Lidia, whose family fled Communist Yugoslavia, arrived in the United States at twelve years old, after having been interned for two years in a refugee camp in Trieste, Italy. Thanks to Catholic Charities, her family settled in the U.S., where she was able to eventually realize her American dream. She is involved in many philanthropic causes, and agreed to return to Dorothea’s House (she last spoke here in 2003) as a benefit for our scholarship fund.

Lidia exudes warmth and a genuine interest in people, which in turn endears her to anyone who meets her. She was gracious enough to sign books for everyone there, including my granddaughter Aurelia.

Lidia will be doing a book tour to promote her memoir, and if she comes to a city near you, don’t miss the chance to meet her in person. Click here to read about her upcoming appearances.

If you can’t make it to see her in person, there are always her cookbooks to inspire you. This recipe comes from one of her earliest cookbooks, “La Cucina Di Lidia.” For this dish, which is reminiscent of the food of her childhood, Lidia says that paprika and/or sour cream were also added sometimes, a nod to the Eastern European influence of her birthplace. I used bone marrow here, as called for in the recipe, but the dish is delicious even without it. Serve it over polenta as I did, or noodles, or rice.

Click here to find out what’s cooking in Ciao Chow Linda’s kitchen each day (and more).

Lidia Bastianich – Beef in Sguazet (Beef Stew)
Cuisine: Italian/Istrian
Author: Lidia Bastianich’s “La Cucina di Lidia”
Serves: serves 8
A hearty stew that marries well with polenta, pasta or risotto,
Ingredients
  • 1/2 ounce (about 6 pieces) dried porcini mushrooms
  • 1/3 cup olive oil
  • 2 large onions, minced
  • 2 beef marrow bones
  • 3 1/2 pounds stewing beef, cut into 1″ cubes
  • 4 bay leaves
  • 2 whole cloves
  • 1/4 tsp. salt (I added 3/4 tsp.)
  • 1 cup dry red wine, Chianti or Barolo
  • 4 tsps. tomato paste
  • 4 cups chicken stock
  • (Lidia also says that in her childhood, paprika and sour cream were sometimes added to this stew, so I added 1 1/2 tsp. sweet paprika, 1/2 tsp. hot paprika and a good grinding of black pepper)
Instructions
  1. Soften the dried porcini about 30 minutes in a cupful of warm water, trim, and reserve the strained liquid.
  2. In a large skillet, heat the oil and sauté the onions for about 10 minutes over medium-high heat, until transparent.
  3. Add the bones, meat, bay leaves, cloves, salt, pepper and paprika, and sauté 10 minutes longer.
  4. Add the wine, raise the heat, and cook about 10 minutes, until the wine has reduced by half.
  5. Add the tomato paste and the porcini.
  6. Stir slowly and thoroughly, and add the reserved mushroom liquid.
  7. Simmer five minutes.
  8. Add half the chicken stock, bring to a boil, reduce to a simmer, and cook until the sauce thickens, about two hours.
  9. As the mixture cooks, add the remaining stock little by little.
  10. When the sguazet is finished, there should be about 6 cups of thick, chunky sauce.
  11. Serve with pasta, polenta or rice.


SaveSave

Thursday, February 14, 2019

Caribbean Rum Cake

If you were baking in the 1970s, no doubt you came across the rum cake recipe from Bacardi’, the well-known rum company from Puerto Rico. I made plenty of them back in the day, and they were always a big hit and easy to make, using a box mix. On a trip to the Cayman Islands a couple of weeks ago, where Tortuga rum cakes are as ubiquitous as fish tacos, I naturally had to try their version. For a packaged cake, it was remarkably good, but I knew there had to be a made-from-scratch recipe to duplicate the cake, reminiscent of those Bacardi’ cakes I enjoyed decades ago.

A short search online turned up a recipe from the King Arthur Flour website, a company whose products and whose recipes are always reliably good. While the King Arthur cake doesn’t include walnuts, the classic Tortuga cake is dotted with them inside the cake. I prefer the walnuts crowning the cake, as the old Bacardi recipe calls for, so that’s how I made it, and I’m glad I did.

The cake, which also contains a full cup of rum, has a moist, tender crumb and a delicious buttery flavor, almost like eating a rummy butterscotch lifesaver – only better. I’ve never tasted hot buttered rum, but I imagine this must be the cake version of that drink. It’s definitely not for tea-totalers.The rum cake isn’t the only reason to recommend a visit to the Cayman Islands. Just to give you an idea of what the beautiful island of Grand Cayman is like, (there are three islands in the Cayman Islands, and Grand Cayman is the largest) here are a few pictures from our recent vacation there. The main attraction is the beautiful Caribbean sea, in various shades of blue. This is the famous “seven mile beach” with soft, pale sands and shade in many places. You’ll find world class hotels along the beach, as well as condos for rent. It’s easy to rent a sailboat, paddle board or other water vehicles right from the beach. 

Need a respite from the sand and sea? You could easily spend a couple of hours visiting the Queen Elizabeth Botanical Garden, with its beautiful flowering plants and historic exhibits.

The grounds of the botanical gardens also contain a preserve for the blue iguana lizard, found only on the Cayman Islands. They nearly became extinct, with only 12 of the animals recorded in 2004, but through conservation efforts, about 700 have been bred and released in the sanctuary since then.If you drive to the northern part of the island, you’ll come to a place called “starfish point,” where the beautiful sea creatures are omnipresent.

Speaking of sea creatures, Grand Cayman is a great place for snorkeling, as you can see in the photo below. They were swirling all around me and I felt like I was in the midst of an aquarium!

You can even swim with sting rays if you’re so inclined. They come right up to you in the clear turquoise waters off a certain part of the island.

The food there is really delicious too, which is why the island is sometimes referred to as “The Culinary Capital of the Caribbean.” The cuisine runs the gamut – from a food truck’s barbecued chicken and ribs to break-the-bank refined elegance at Eric Ripert’s “Blue” restaurant in the Ritz Carlton Hotel.

There’s so much more to see and do in the Cayman Islands, including fishing, shopping, and visiting museums. We hope to go back next year and I hope you get a chance to visit sometime too. Until then, I’ll be dreaming of those beautiful beaches and content myself with another piece of Caribbean rum cake.

Click here to find out what’s cooking in Ciao Chow Linda’s kitchen each day (and more).

Caribbean Rum Cake
Author: Ciao Chow Linda via King Arthur Flour
A rum-soaked cake with a tender, moist crumb.
Ingredients
  • FOR THE CAKE:
  • 2 cups unbleached all purpose flour
  • 1 1/2 cups sugar
  • 3.4-ounce box instant vanilla pudding mix (not sugar-free)* (I used a smaller box of 1.5 oz)
  • 2 teaspoons baking powder
  • 1 teaspoon salt
  • 1/2 cup unsalted butter, softened
  • 1/2 cup vegetable oil
  • 1/2 cup milk, at room temperature
  • 4 large eggs, at room temperature
  • 1/2 cup rum, plain or spiced (I used Bacardi gold rum)
  • 2 teaspoons vanilla extract
  • 1/4 teaspoon butter rum flavor (I omitted this)
  • 1/3 cup chopped walnuts
  • FOR THE SYRUP:
  • 8 tablespoons (1/2 cup) unsalted butter
  • 1/4 cup water
  • 1 cup sugar
  • 1/4 teaspoon salt
  • 1/2 cup rum, plain or spiced
  • 1/2 teaspoon vanilla extract
Instructions
  1. Preheat the oven to 325°F.
  2. Place the flour, sugar, pudding mix, baking powder, salt, butter, and vegetable oil in a mixing bowl, and mix at medium speed until everything is thoroughly combined and the mixture is sandy looking.
  3. Beat in the milk, then beat in the eggs one at a time.
  4. Scrape the bowl thoroughly, and beat briefly to recombine any sticky residue.
  5. Stir in the rum, vanilla, and butter-rum flavor, if using.
  6. Generously butter a 10- to 12-cup Bundt pan with cooking spray, then spritz with cooking spray.
  7. Sprinkle the inside of the pan with the chopped walnuts.
  8. Pour the batter into the prepared pan and spread level with a spatula.
  9. Bake the cake for 50 to 60 minutes.
  10. When done, a cake tester, long toothpick, or strand of uncooked spaghetti will come out clean when inserted into the center.
  11. Remove the cake from the oven.
  12. Leave the cake in the pan to cool slightly while you make the syrup.
  13. In a medium-sized saucepan combine the syrup ingredients, except vanilla.
  14. Bring to a rapid boil then reduce to a simmer and cook (without stirring) for about 5 to 8 minutes, until the syrup thickens slightly.
  15. Remove from the heat and stir in the vanilla.
  16. Use a long skewer to poke holes all over the cake.
  17. Pour about 1/4 cup of the syrup over the cake (still in the pan). Allow the syrup to soak in, then repeat again and again until all the syrup is used.
  18. Cover the pan loosely with plastic wrap and allow the cake to sit overnight at room temperature to cool completely and soak in the syrup.
  19. When ready to serve, loosen the edges of the cake and invert onto your serving plate.
  20. If the cake won’t release, don’t force it.
  21. Place it in the oven, turn the oven to 350°F, and warm for about 10 minutes, to soften the sticky syrup.
  22. (If your oven is one that preheats by making its upper element red-hot, place the cake on a lower rack and tent it with aluminum foil to protect it.)
  23. Remove the cake from the oven, and tip it onto the serving plate.
  24. Serve with hot coffee or tea.
  25. The cake is very moist, fragrant and potent.
  26. Wrap securely (or place under a cake cover) and store at room temperature for several days. Freeze for longer storage, up to 1 month.


Tuesday, February 5, 2019

Beet Ravioli with ricotta and goat cheese filling

Valentine’s Day is just around the corner, and this recipe is perfect for winning over the hearts (and stomachs) of your loved ones. Or just treat yourself to a special home made meal. You deserve it! The ravioli dough is made with beets, although it hardly retains any of the beet flavor. But it does look rather festive, and was a good way for me to salvage some of the beets I had dreadfully overcooked this past weekend. You see, I planned to make pickled beets and I placed the beets to cook atop the stove in a pot of water. I like to undercook beets since they get cooked a bit more in the pickling process, and I prefer some “bite” to the finished product. But I left the house to see the HD performance of “Carmen” live from the Met, and forgot about the pot simmering on the stove. I didn’t realize it until nearly three hours later, well after Carmen entices Don Jose with her guiles, but before he gets his revenge on the alluring gypsy.

You know it’s verboten to phone or text in the theater during a performance, but I covered by head and torso with my jacket and texted my husband to ask him to immediately drain the water from the beets. Thank goodness for husbands who are loyal to their alma mater and stay home to watch the basketball game on TV. Go Pirates!

I know it could have been avoided had I roasted the beets, but I always have trouble peeling beets when I roast them. Besides, I might have forgotten them in the oven and come home to dehydrated, or worse, burnt spheres of my favorite root vegetable.

So anyway, here I was with lots of mushy beets to use up. I’ve always wanted to try making pasta with beets so this gave me the perfect excuse. Let’s get started.

Whiz the beets in a food processor until smooth.

Add the eggs, flour and other ingredients. I used 00 flour, the kind that Italians traditionally use for making pasta. If you don’t have it, use regular flour, or add some semolina flour to regular flour. However, it’s easy enough to find 00 flour online, if you don’t have an Italian grocery store, or specialty food shop near you.

The dough is stickier than normal pasta dough – possibly because of those darn overcooked and water-logged beets of mine. So I had to knead in a little more flour on the wooden board. Cover it with plastic wrap and let it rest for at least an hour.

I placed the dough through the pasta machine, spreading a little more flour over the dough each time I passed it through a different thickness. Using a heart-shaped cookie cutter, cut out the heart shapes.

Place a tablespoon of filling over each heart and then using your finger, or a small paint brush, brush a little water around the perimeter of each one. By the way, the goat cheese adds a nice tang to the ricotta and the lemon zest brings a nice “brightness” to it. Don’t skimp on the fresh thyme or the grating of nutmeg either. It’s a delicious combination of flavors.

Cover with a second piece of the pasta, and crimp the edges with a fork.

This dough recipe makes enough for about four dozen ravioli, but frankly, I was getting hungry and wanted to get moving with dinner. So I stopped at about two dozen ravioli and made fettuccine with the rest of the dough. I had some leftover filling, but I’ll use it in a frittata.

Boil the ravioli in abundant, salted water. These were ready in only three or four minutes.

Meanwhile, melt the butter, and add the thyme and hazelnuts. When the ravioli are cooked, transfer them with a slotted spoon or spider to the pan with the butter and hazelnuts. Don’t drain the pasta really well; It’s good if a little water comes along to add to the sauce. Carefully spoon the pasta into a heated dish and sprinkle some parmesan cheese over everything.Happy Valentine’s Day to everyone!

Click here to find out what’s cooking in Ciao Chow Linda’s kitchen each day (and more).

Image result for hearts

Beet Ravioli with ricotta and goat cheese filling

Author: Ciao Chow Linda
Serves: 3-4 dozen ravioli
Ingredients
  • FOR THE PASTA:
  • two medium beets (or about 8 ounces pureed beets)
  • 1 large egg yolk
  • 2 large whole eggs
  • about 2 1/2 cups 00 flour
  • salt, to taste
  • FOR THE FILLING:
  • 3/4 cup ricotta cheese, drained (preferably overnight)
  • 5 ounces soft goat cheese
  • 2 tablespoons minced fresh thyme
  • grated rind of one lemon
  • salt, pepper and the grating of a bit of fresh nutmeg
  • FOR THE SAUCE:
  • 1/4 cup butter, melted
  • 1 tablespoon minced fresh thyme
  • 1/3 cup roughly chopped hazelnuts
  • parmesan cheese, for sprinkling
Instructions
  1. TO MAKE THE PASTA:
  2. Cook the beets, either by boiling or roasting.
  3. Once they are cool, remove the skin and puree the beets in a food processor until smooth.
  4. Add the salt, and eggs to the beet puree in the food processor, then start adding the flour a little at a time, until the dough starts to pull away from the sides of the food processor bowl.
  5. Remove it onto a well-floured board and knead until smooth and it loses its “stickiness.”
  6. Wrap in plastic wrap and let it rest for at least an hour.
  7. TO MAKE THE FILLING:
  8. Drain the ricotta overnight or at least an hour, to remove some of the water.
  9. Place the cheeses and other ingredients in a food processor and mix.
  10. MAKING AND ASSEMBLING THE RAVIOLI:
  11. Cut the dough into four parts and work with one of the pieces, keeping the rest covered.
  12. Run the dough through the pasta machine, flattening and flouring each piece as you go along. Start with the widest setting , dusting the dough each time you feed it through a narrower setting.
  13. On my KitchenAid pasta machine, I stopped at the number four setting.
  14. Using a heart-shaped cookie cutter, cut out heart shapes, then fill with a tablespoon of the cheese filling.
  15. Moisten the edges of the pasta, then place another heart shaped pasta piece on top of the filling.
  16. Crimp the edges with a fork.
  17. Drop into boiling, salted water and cook until the pasta is al dente. For me, this took only about three to four minutes.
  18. TO MAKE THE SAUCE:
  19. Meanwhile, melt the butter in another saucepan, add the thyme and the hazelnuts.
  20. When the pasta is cooked, using a slotted spoon or “spider” drop them into the pan with the butter and hazelnuts.
  21. Don’t worry if the pasta is not totally drained. A little water is needed to help make the sauce.
  22. After all the ravioli are in the saucepan, gently toss them to disperse the butter, nuts and thyme.
  23. Sprinkle with parmesan cheese and serve.