Tuesday, December 31, 2019

Pecan Sticky Buns

When I know I’m going to have overnight guests in the house, I like to prepare at least one special breakfast ahead of time, rather than leave my guests to fend for themselves with only a box of cereal and cold milk. Last year I made a polenta breakfast bake that was a big hit with everyone. This year, I finally decided to make pecan sticky buns. They’re a weakness of mine that I used to order occasionally at Panera’s but has now been taken off the menu. This recipe, from the blog, Dinner At The Zoo, is nearly identical, and makes enough for a crowd. I added some currants, which the original recipe did not call for. You could also add raisins if you like. Or leave them out completely. The recipe called for all twelve pieces to be baked together in a 9″ xy 13″ rectangular pan, but there didn’t seem to be room in the pan I had, so I placed two rolls in separate ceramic round ramekins. I really liked them better in the individual ramekins since the syrupy topping had more room to ooze down the sides as in the top photo. If I had twelve ramekins, I’d bake them all this way. But they were pretty terrific in the rectangular pan too.

The dough is a very supple dough, enriched with eggs and butter, and requiring two rises. Here it is, doubled in size, after the first rise.Next, you roll out the dough to a rectangle that’s 12″ by 18″ and spread the butter/cinnamon/currants filling over the dough. Then roll up the dough tightly, starting from the long side, cut it into twelve pieces and place each piece on top of the pecan sticky topping.The rolls will puff up more during the second rise,  after you’ve spread the filling and rolled them up. Then they get baked in the oven where they’ll increase in size even more. At this stage, I let them cool, and covered them with aluminum foil to place in the freezer. I removed them from the freezer the night before I wanted to serve them, and warmed them at 350 degrees for about 20 minutes before serving. 


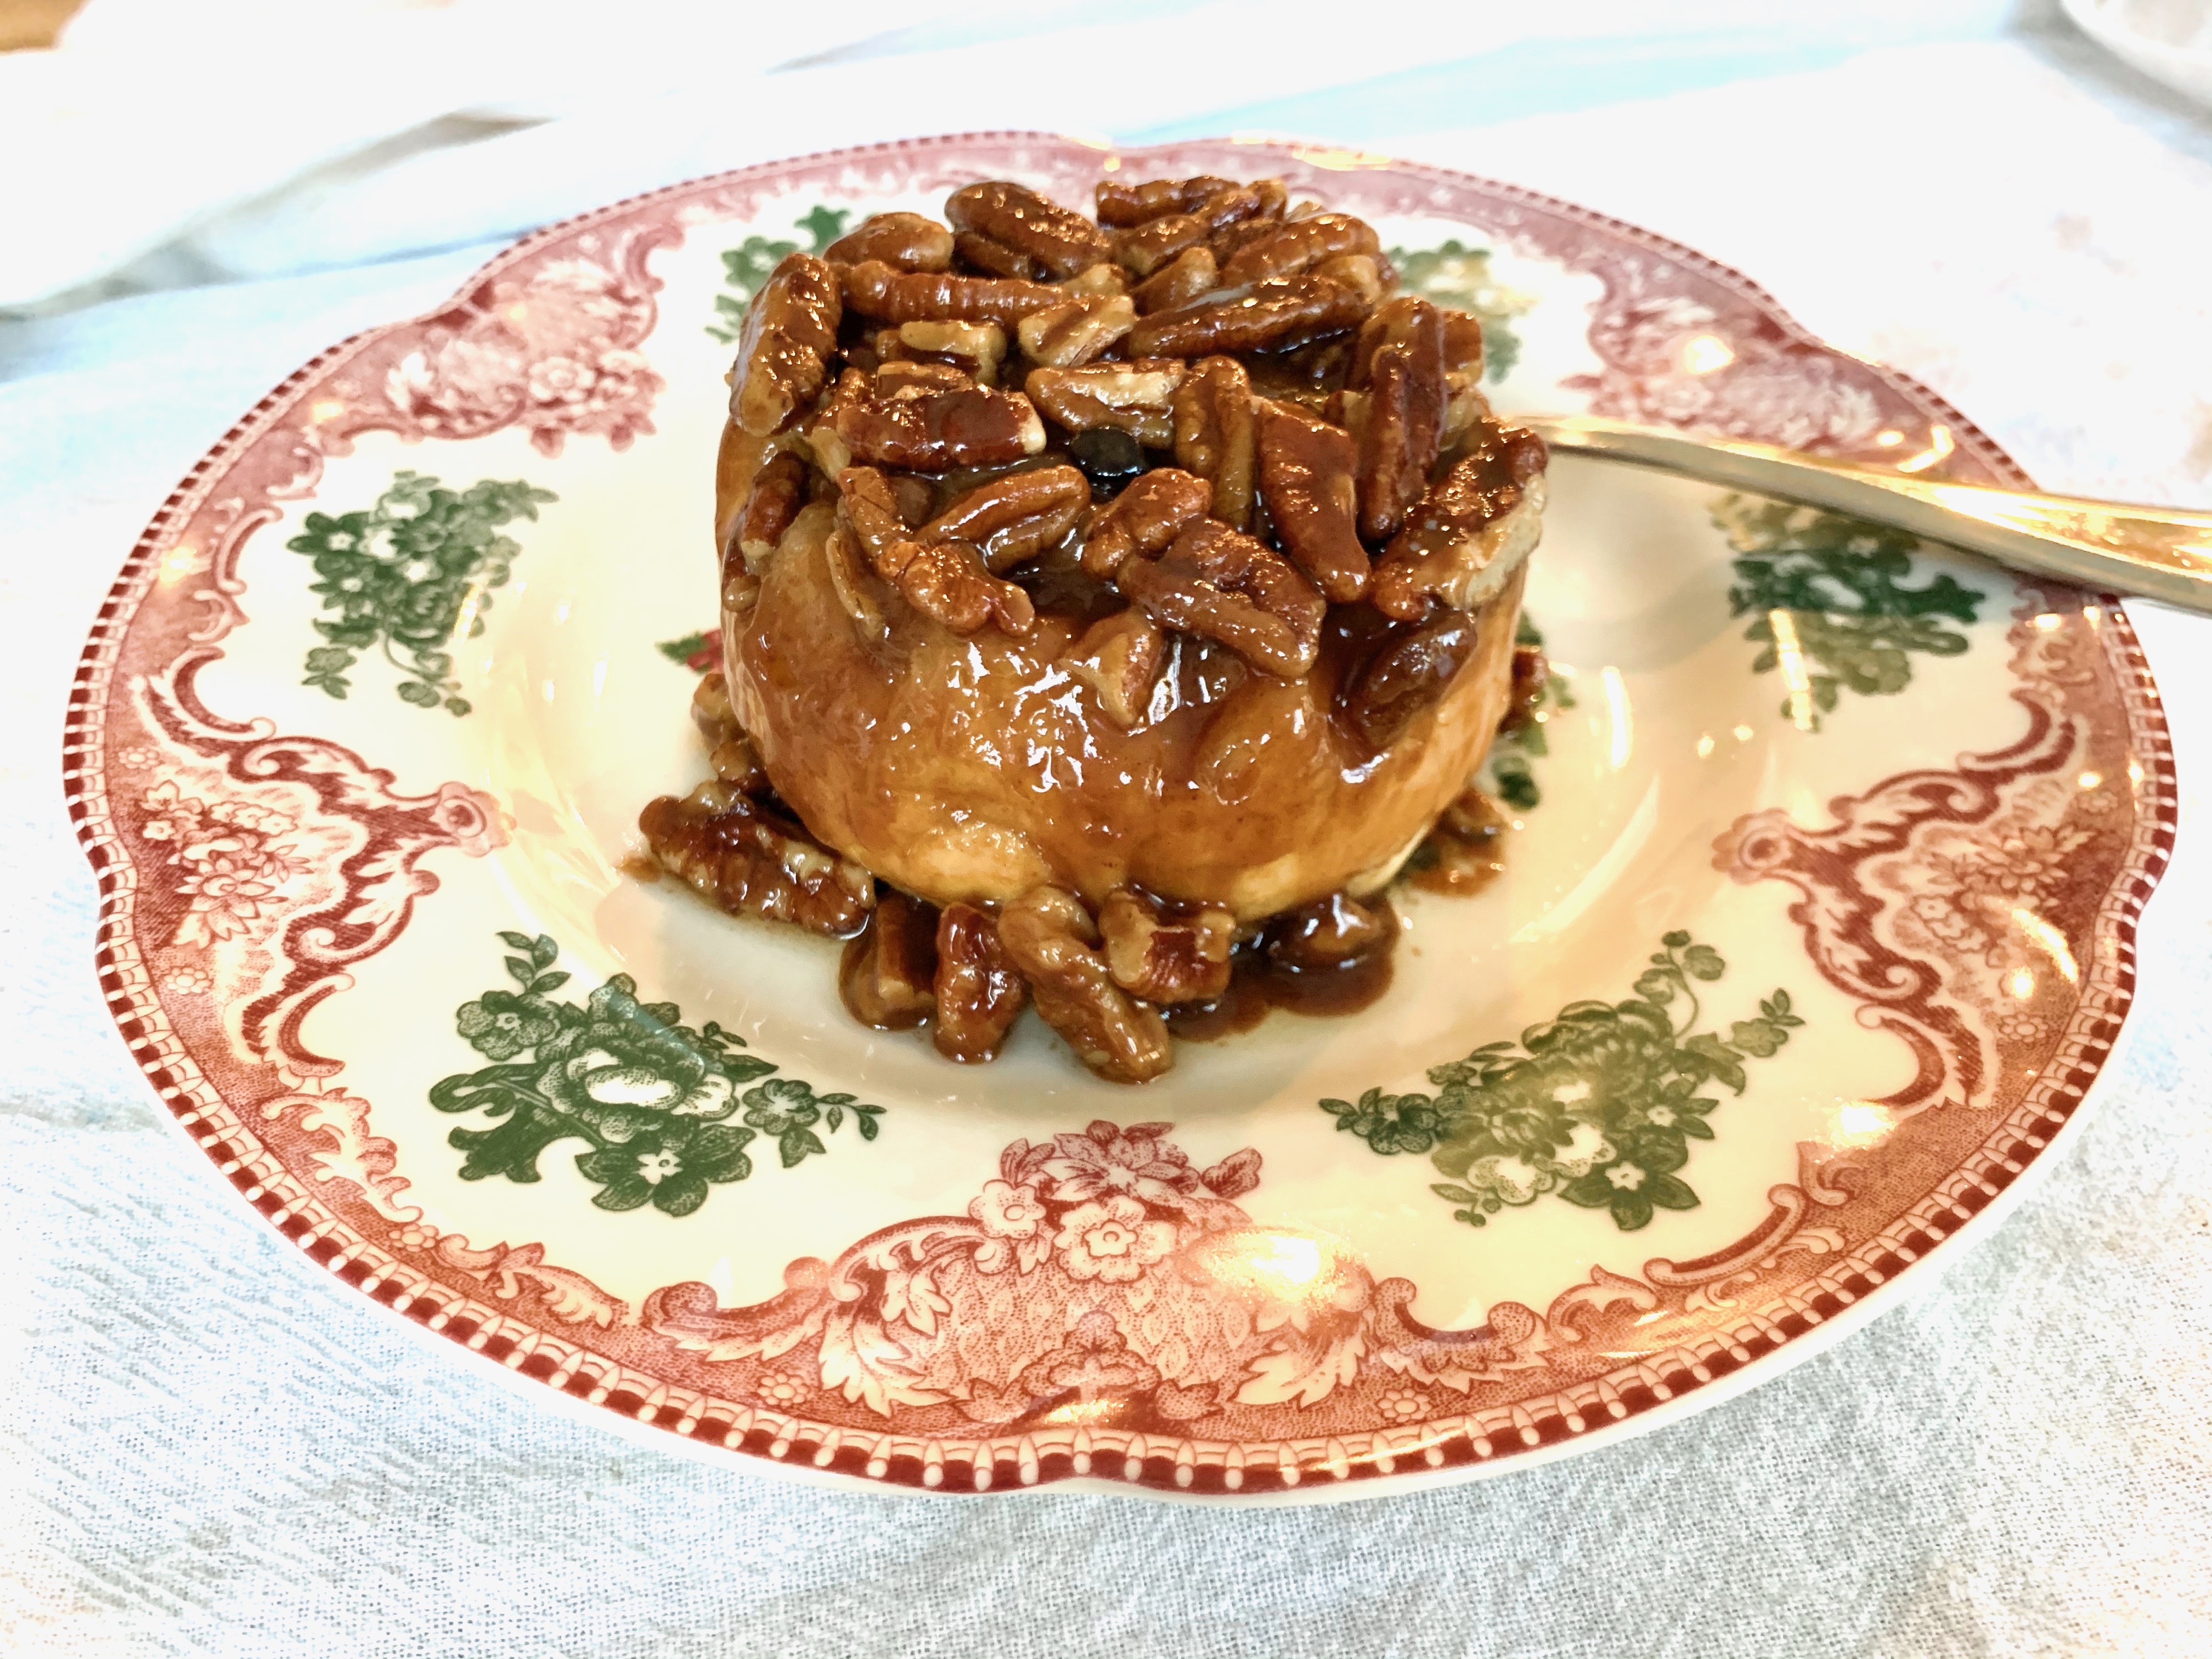
Flip them over onto a platter, or just a cookie sheet lined with parchment paper, then tear apart, or slice to serve.
Having been sick all through Christmas (and still not recovered), I was grateful to be able to pull this out from the freezer and serve while we were opening our gifts.

It’s an indulgence to be sure, but oh so worth it for the holiday or a special occasion. You can start on your diets in the new year.

I hope you all had a wonderful Christmas, Hanukkah, Kwanza, or whatever holiday you celebrate.

Click here to connect with me on Instagram and find out what Ciao Chow Linda is up to in the kitchen (and other places too.)

Pecan Sticky Buns
Author: Ciao Chow Linda via Dinneratthezoo.com
Serves: 12 rolls
Ingredients
  • FOR THE DOUGH:
  • 1 packet active dry yeast 1/4 ounce
  • 3/4 cup warm water approximately 100 degrees F
  • 3/4 cup warm milk approximately 100 degrees F
  • 1/4 cup granulated sugar
  • 1/4 cup butter melted
  • 1 1/2 teaspoons salt
  • 2 eggs
  • 5-5 1/2 cups all purpose flour
  • cooking spray
  • FOR THE FILLING:
  • 1/2 cup butter softened
  • 1/4 cup granulated sugar
  • 3/4 cup dark brown sugar
  • 2 1/2 teaspoons cinnamon
  • 1/4 cup currants or raisins
  • FOR THE TOPPING:
  • 2 cups pecans coarsely chopped
  • 1/2 cup butter
  • 3/4 cup dark brown sugar
  • 3/4 cup heavy cream
  • 1/4 cup honey
  • 1/4 teaspoon salt
Instructions
  1. FOR THE DOUGH:
  2. Place the water in the bowl of a stand mixer fitted with the paddle attachment.
  3. Add the packet of yeast and let the yeast dissolve in the water for 1 minute.
  4. Add the milk, sugar, butter, salt, eggs and 5 cups of flour to the bowl.
  5. Beat for 2-3 minutes or until a smooth dough forms.
  6. If the dough is sticky, add more flour, 2 tablespoons at a time, until the desired consistency is reached.
  7. Switch to the dough hook, and knead the dough for 3-4 minutes or until smooth and elastic.
  8. Place the dough in a large bowl coated with cooking spray. Cover the dough with plastic wrap and let it sit for one hour, or until doubled in size.
  9. FOR THE FILLING:
  10. Place the butter, brown sugar, granulated sugar and cinnamon in a medium bowl. Stir until well combined.
  11. Place the dough on a lightly floured surface. Roll the dough into a 18″x12″ rectangle.
  12. Spread the filling mixture evenly all over the dough.
  13. Starting with the long end of the dough, roll it up tightly, jelly roll style. Pinch the seams to seal the end of the roll.
  14. Cut the roll into 12 equal slices.
  15. FOR THE TOPPING:
  16. Melt the butter in a small pan over medium heat.
  17. Add the brown sugar, heavy cream, honey and salt, then bring to a boil.
  18. Reduce the heat to low, and simmer for 2-3 minutes until glaze is smooth and shiny.
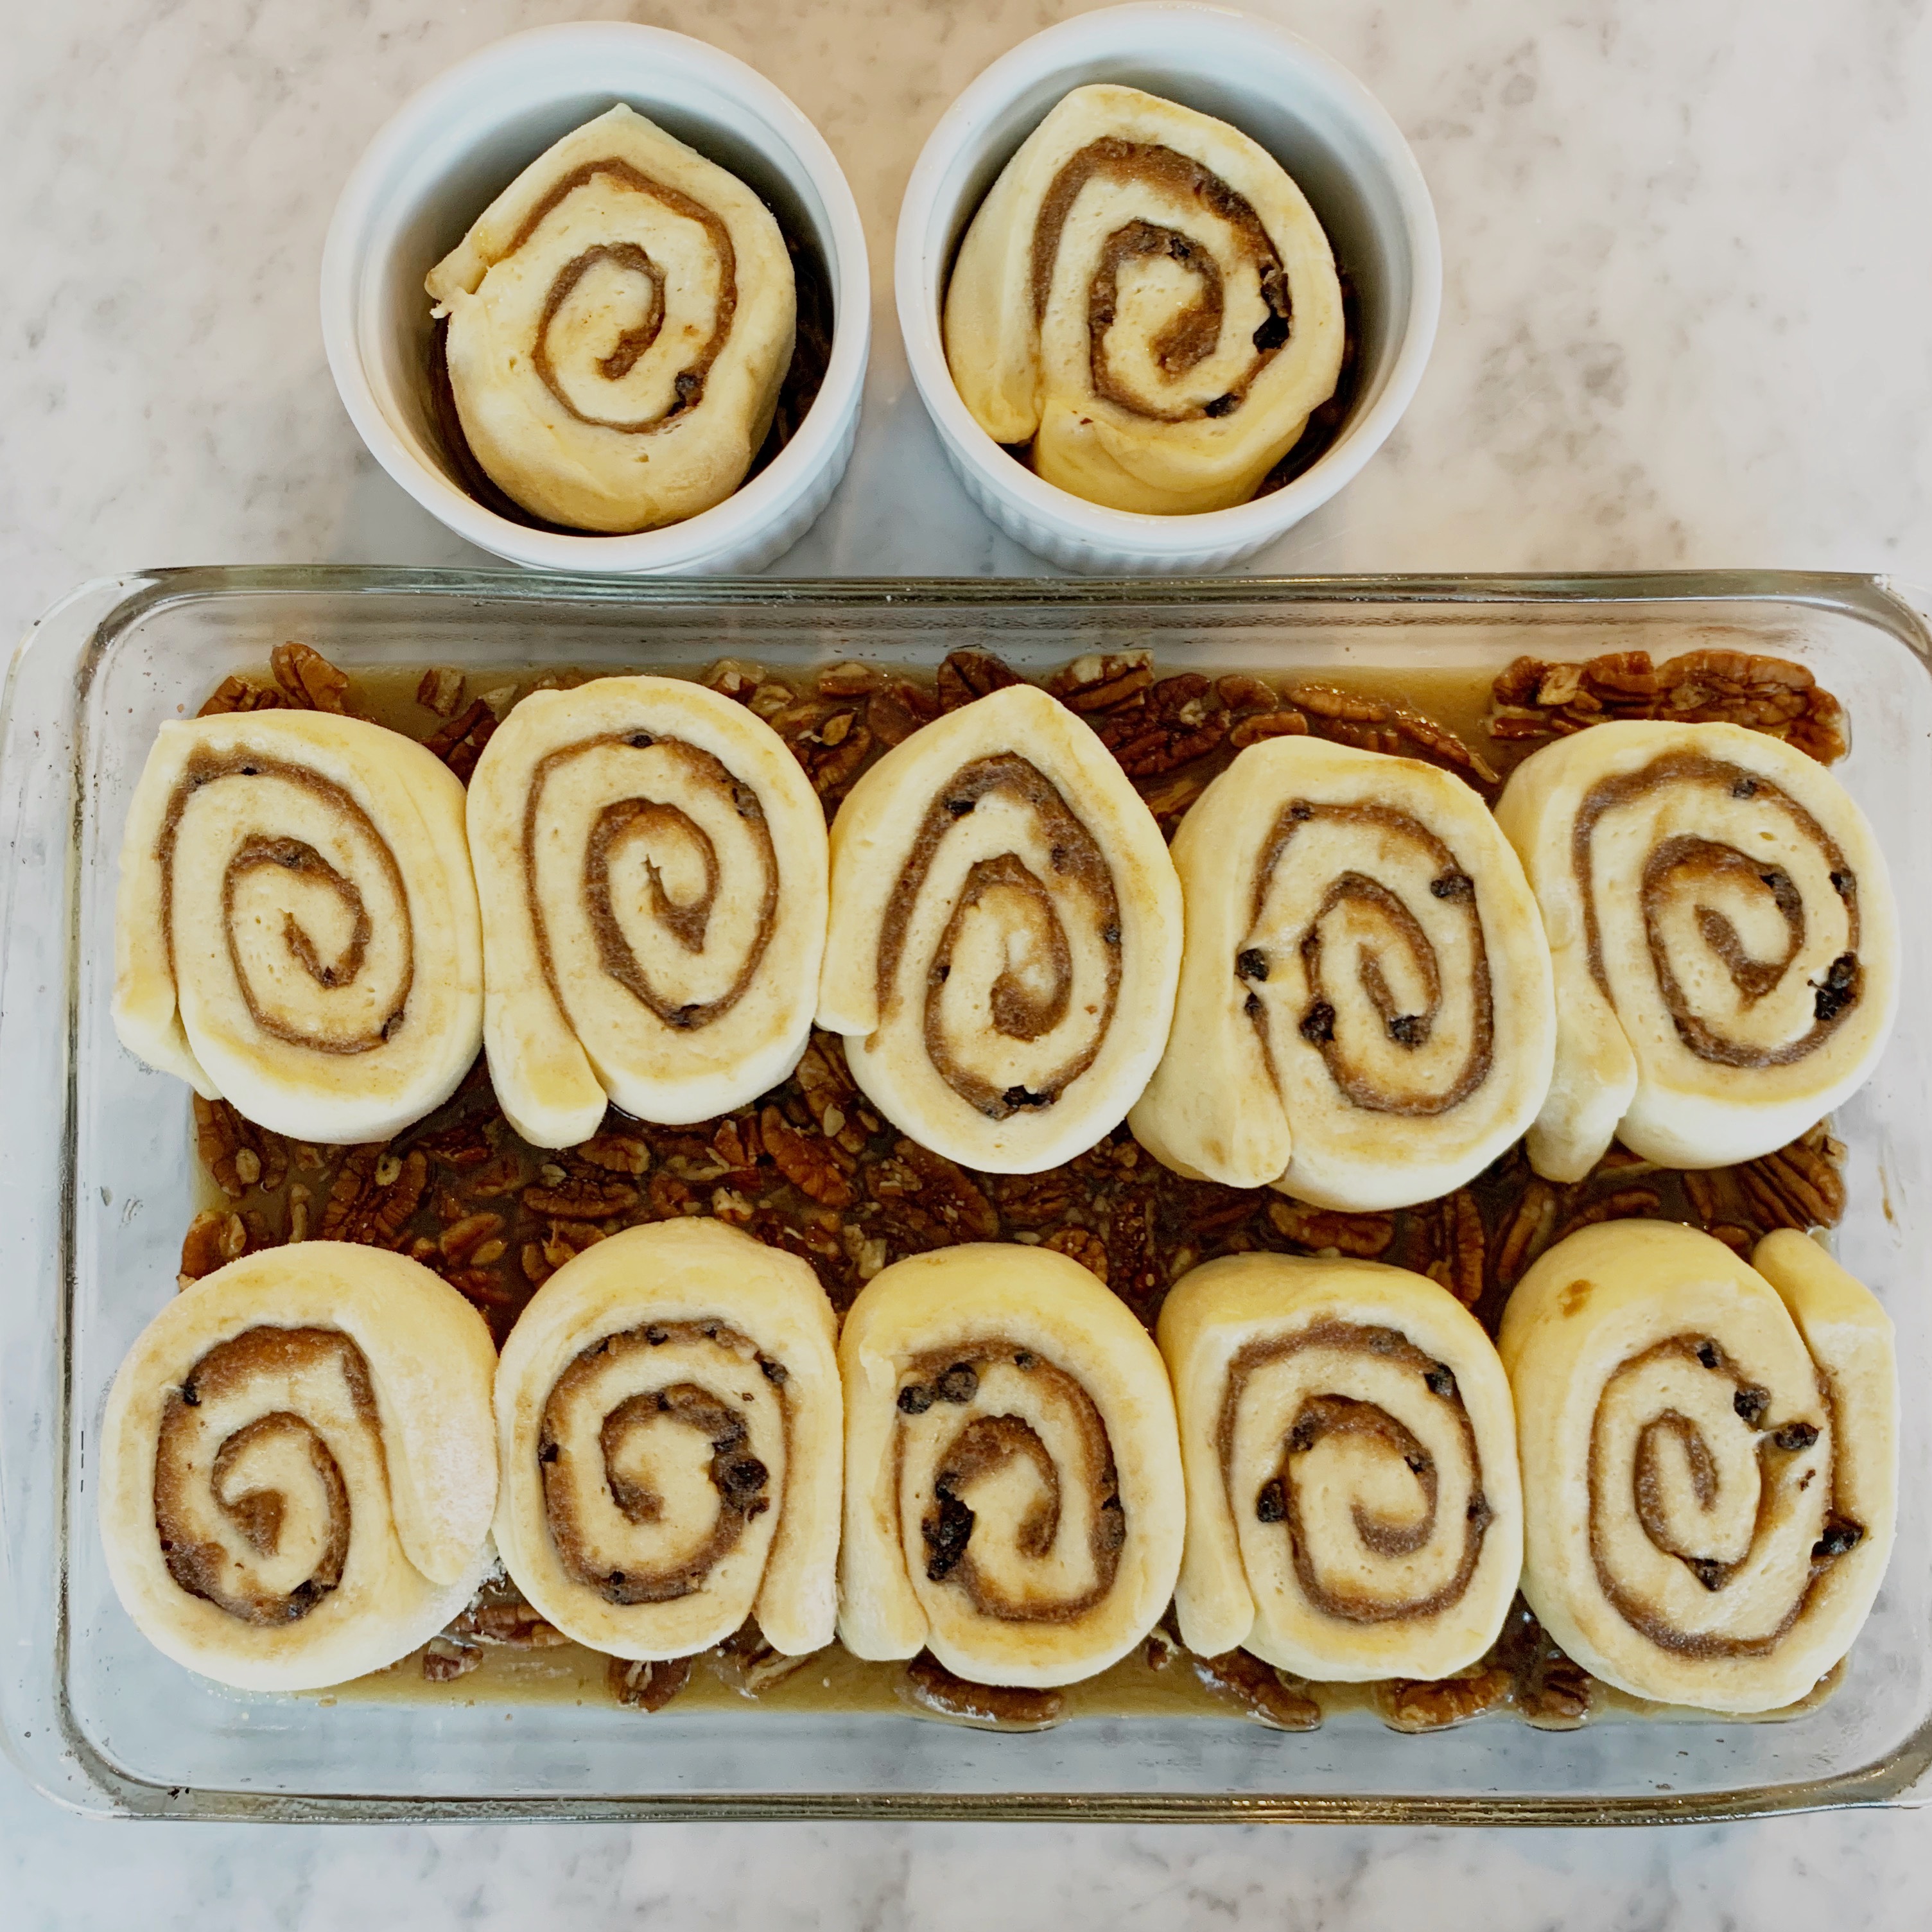
  19. Pour 2/3 of the topping mixture into the bottom of a 9″x13″ pan that’s been coated in cooking spray. Reserve the rest of the topping for later use.
  20. Sprinkle the pecans over the sugar mixture, then place the rolls on top.
  21. Cover and let the rolls rise until they’ve doubled, this should take about one hour.
  22. Preheat the oven to 350 degrees F.
  23. Bake the rolls for 30-35 minutes until golden brown.
  24. Let the rolls sit for 5 minutes, then invert the pan onto a serving tray.
  25. Warm the reserved topping and drizzle it over the top, then serve.


Tuesday, December 17, 2019

Stuffed Pull-Apart Christmas Tree Bread Knots

Whether it’s a good French baguette or hefty Italian bastone, I love a good loaf of bread, and don’t need any extra incentives to eat more. But this one is irresistible and can weaken my resolve to consume fewer carbs. It’s an easy-to-make stuffed bread treat that’s a kissin’ cousin to pizza. Your family and friends will love it (unless they’re gluten intolerant). With a glass of wine and a side salad, it was dinner for me and my husband last night. We could have eaten the whole thing by ourselves, but we stopped before we became truly gluttinous. You don’t have to make it in a Christmas tree shape, but that certainly does make it festive for the holidays. You could simply make it in a circle or wreath shape, or in a square format. I started out with frozen pizza dough – about a one pound package. Of course, you can make your own dough, if you’ve got the time and inclination. But there’s enough going on at this time of year, that I take short cuts when I can find them.

Start out by rolling or stretching the dough to a rectangle that’s about 6 inches by 16 inches. Have cooked sausage (1 large piece of Italian sausage, with the casings removed — crumbled and cooked in olive oil.) and some shredded mozzarella cheese nearby. Cut the dough into 16 pieces. You’ll need 15 for the actual tree, and one for the stump.

Press the piece of dough into a square shape and into the center of each piece of dough, place a small bit of the sausage and some of the cheese. Pinch the ends together firmly to seal. Make sure none of the filling is visible or it will leak onto the baking sheet.

Arrange the balls into a Christmas tree shape, pinched ends underneath, with the stump (which you have also filled with cheese and sausage) at the bottom.Brush with beaten egg and bake in the oven. As soon as it comes out of the oven, brush with the garlic-infused olive oil, sprinkle with parmesan cheese, parsley and bits of tomato to decorate. Serve immediately.

Bet you can’t eat just one!

Click here to connect with me on Instagram and find out what Ciao Chow Linda is up to in the kitchen (and other places too.)

Stuffed Pull-Apart Bread Knots
Author: Ciao Chow Linda
Ingredients
  • 1 uncooked pizza dough (about 1 pound)
  • mozzarella cheese, about 2 cups shredded, or 1 large ball
  • 1 cup cooked Italian sausage, crumbled and cooled
  • 1 egg, beaten
  • 1/8 cup olive oil
  • 2 cloves garlic
  • 1/4 cup grated parmesan cheese
  • a few sprigs of parsley, minced
  • marinara sauce, optional
Instructions
  1. Roll out the pizza dough into a rectangle, about 6 inches by 16 inches long.
  2. Cut the rectangle in half lengthwise, then cut each rectangle into 8 pieces.
  3. Flatten out each piece of dough into a square shape, then holding a piece of dough in your hand, stretch it a bit to accommodate a piece of sausage and a bit of the mozzarella cheese.
  4. Pinch the dough together, enveloping the filling inside the dough, shaping it into a ball.
  5. Place on a silicon baking mat, parchment paper or on a greased cookie sheet.
  6. If you’re making a tree shape, you’ll need 15 pieces, plus another one for the stump.
  7. If you’re making a circle shape, make as many as will fit on your cookie sheet.
  8. After filling the dough, place on the Silpat mat, with the pinched side facing the baking sheet, making sure the dough balls touch each other slightly.
  9. Beat the egg and brush a little of the beaten egg over the dough balls.
  10. Bake in a preheated 15 to 20 minutes or until golden.
  11. While the dough is cooking, gently saute the garlic cloves in the olive oil.
  12. Drain the garlic, retaining the oil.
  13. Brush the oil over the dough, and sprinkle with the grated parmesan cheese and parsley.
  14. Decorate with bits of chopped tomato or roasted peppers.
  15. Serve immediately, with marinara sauce, if desired.


Monday, December 2, 2019

Torta Dolce di Ricotta with cranberry topping

Are you wondering what to serve for dessert during the holidays? This delicious and beautiful ricotta cheesecake would be perfect on your table, with its festive cranberry topping.

The recipe is from a wonderful cookbook called “Feast of the Seven Fishes” by Daniel Paterna. While the book contains many seafood recipes and is an ode to the Brooklyn neighborhood where Paterna was raised, this showstopper of a cheesecake really captured my attention. It’s shown without any topping in the book, and you could surely enjoy this cake even without any embellishment. Containing ricotta, rather than cream cheese, it’s not at all heavy and it’s easy to make too.

One tip — I didn’t roll out the crust with a rolling pin as the recipe says. I didn’t even refrigerate it for the recommended half hour. Using my hands, I pressed it into a disk over a piece of parchment paper, then kept pushing with my palm and fingers until it reached 14 inches in diameter. I then lifted the parchment and pressed it into the greased pan. Don’t worry if some breaks off. It’s easily patched together. The cake will sink a bit after removal from the oven.

The little recess on top is a perfect nest for the topping, if you choose to add one. I love cranberries and typically have leftover cranberries after Thanksgiving, but you could serve this plain and simply dusted with confectioner’s sugar, or use other fruit — raspberries, strawberries or whatever you like — to crown this beauty. Buone feste!

Click here to connect with me on Instagram and find out what Ciao Chow Linda is up to in the kitchen (and other places too.)

Torta Dolce di Ricotta with cranberry topping
Author: Daniel Paterna/Feast of the Seven Fishes/Ciao Chow Linda
Ingredients
  • CRUST:
  • 2 cups all purpose flour, plus extra to dust board and pan
  • 3/4 cup sugar
  • zest of one lemon
  • 1/2 cup unsalted butter, softened, plus extra to grease the pan
  • 2 large eggs
  • FILLING:
  • 8 large eggs
  • 3 pounds ricotta cheese, drained of excess water
  • 2 teaspoons vanilla
  • 1 1/2 cups sugar
  • zest of 2 oranges
  • juice of 1 orange
  • juice of 1 lemon
  • FOR THE CRANBERRY TOPPING:
  • 1 bag of fresh cranberries
  • 3/4 cup water
  • 3/4 sugar
  • zest of one orange
  • 1/4 freshly squeezed orange juice
Instructions
  1. FOR THE CRANBERRY TOPPING:
  2. Place the cranberries, water, sugar, orange juice and orange zest in a pan.
  3. Turn the heat to high and cook until the cranberries are popping and release their juices.
  4. After about five minutes, remove from heat and refrigerate for a couple of hours, to thicken.
  5. FOR THE RICOTTA TORTA:
  6. Preheat oven to 350 degrees and butter and flour a 10-inch springform pan, then set aside.
  7. To make the crust, place the flour, sugar and zest on a pastry board or clean, dry flat surface.
  8. Mix thoroughly to combine.
  9. Add the butter and work it into the dry ingredients.
  10. Gather the mixture into a mound and create a well in the center.
  11. Add the eggs, beating with a fork and grabbing the dry mixture until the dough begins to form.
  12. Shape into a disk and refrigerate for 30 minutes.
  13. Meanwhile, make the filling by combining the eggs, ricotta cheese, vanilla, sugar, orange zest, orange juice, lemon juice in a large mixing bowl.
  14. Mix thoroughly and set aside.
  15. Remove the dough from the refrigerator and place on a large board or clean, dry flat surface, lightly dusted with flour.
  16. Using a floured rolling pin (I just used my fingers and palms of my hand and pressed it onto a piece of parchment paper) roll the dough out into a large circle, approximately 14 inches in diameter.
  17. Now roll the dough over the rolling pin and carefully unwind it over the baking pan, gently easing it to fit evenly in the bottom and up the sides of the pan.
  18. (I lifted up the parchment paper and placed the dough into the pan. Don’t worry if some of it breaks. You can easily patch it.)
  19. Pour or spoon the filling mixture into the crust, leaving about 1/4 inch below the rim of the pan.
  20. Place the pan in a preheated oven and bake for 1 hour and 45 minutes, until the center is slighy firm.
  21. Cool for at least 2 hours.
  22. Spread the cranberry topping over the cake.
  23. Carefully run a knife or spatula around the sides of the pan to remove it, so that no crust is pulled away when you release the spring of the pan.